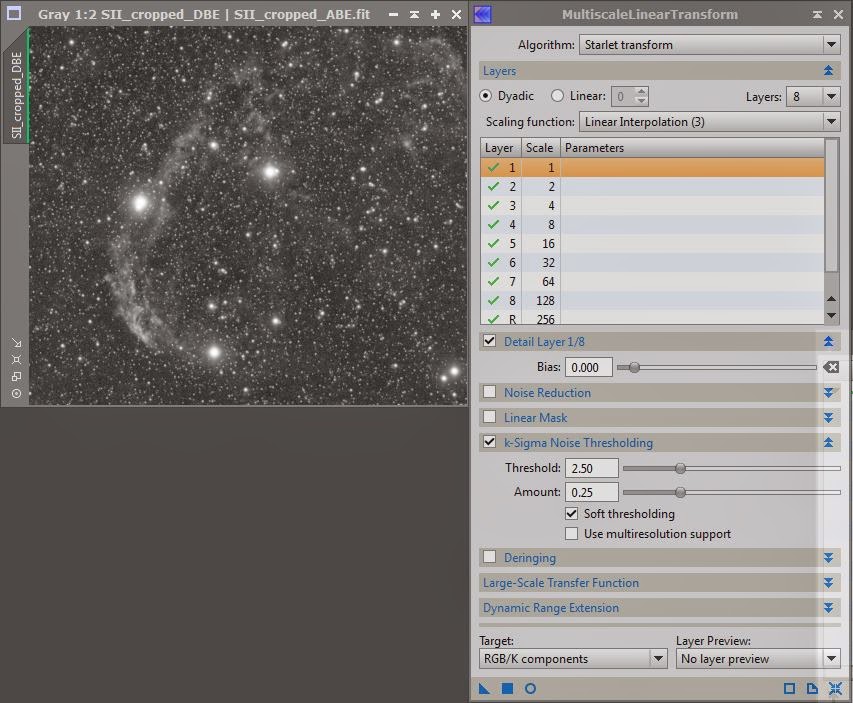
I wanted to use this technique especially for the SII image of the Crescent nebula which has myriads of stars and only a very dim image of the nebula:
I have used Straton in the past for this, but never for an image of this complexity (many stars, dim signal). Trying it out, I get this:
Lots of distortion in this image. Zooming in:
| Before: | After: |
|
|
|
This is the outcome of the Straton star removal:
Looks much better. Let's zoom in:
| Before: | After: |
|
|
|
Searching around (and especially looking for a Pixinsight-based solution), I found a couple of other attempts:
- A Photoshop approach and Photoshop action by J-P Metsavainio himself
- In this Pixinsight thread (search for "Remove stars" in the page) by Alejandro Tombolini
- A video tutorial by Gerald Wechselberger for Pixinsight
#1 Photoshop actions by J-P Metsavainio
I installed the StarRemoving.atn actions and tried it out. There were actually two actions: RemoveStars and StarRemove1. Both delivered similar results:
RemoveStars:
StarRemove1:
The first one (which is just several times applying "Dust and Scratches" with various radius) did an OK job with the small stars and kept a lot of the nebula intact. But when zooming in, you can see that the image is very "blotchy". The second one left a lot of the stars...
#2 Approach by Alejandro Tombolini
The first step is to extract the stars and maybe some of the nebula. Using the approach by Alejandro, I get this:
Not bad for such a simple approach. But it missed a lot of the tiny stars:
| Original: | Extracted Stars: |
When I use this star mask in the next step (subtract from the image), I get this image:
Which is not what we were looking for. We were looking for the isolated Nebula with maybe some star fragments still there.
I tried using the star mask from above (created using StarMask with smoothness=4). This results in an (almost) black image as the stars and the background have a different level then the original image (if I subtract the original image from the star mask, I basically get the star mask again). I.e. this star mask is good for protecting the image for subsequent operations, but not for direct manipulation.
I tried using the star mask from above (created using StarMask with smoothness=4). This results in an (almost) black image as the stars and the background have a different level then the original image (if I subtract the original image from the star mask, I basically get the star mask again). I.e. this star mask is good for protecting the image for subsequent operations, but not for direct manipulation.
#3 Approach by Gerard Wechselberger
The very first step here is to create a star mask that contains all stars. But I was not successful in this as my star masks never contained all smaller stars. I asked on the Pixinsight mailing list about how to improve the star mask to include more stars. And got a very quick response how to use the parameters in StarMask. This is what I got:On first look, this looks much better - it also cuts out the nebula itself. Zooming in:
| Original: | Extracted Stars: |
|
|
|
| Original: | Smoothness=16 | Smoothness=8 | Smoothness=4 | Smoothness=2 |
I also wrote an email to Gerald asking him for advice. He was very kind and sent me back a series of steps to minimize the smaller stars.
Here is his sequence:
| Original Image: | |
| Star Mask: | |
| Applied Star Mask: |
|
| Step1: MMT |
|
| Step2: MMT |
|
| Step3: HT |
|
| Step4: MMT |
|
| Step5: HT |
|
| Step6:MLT |
|
| Step7: PM |
|
| Step8: PM |
|
The smaller stars are clearly dimmer and the nebula more pronounced (and not distorted).
I will process my image again using this approach.


No comments:
Post a Comment